|
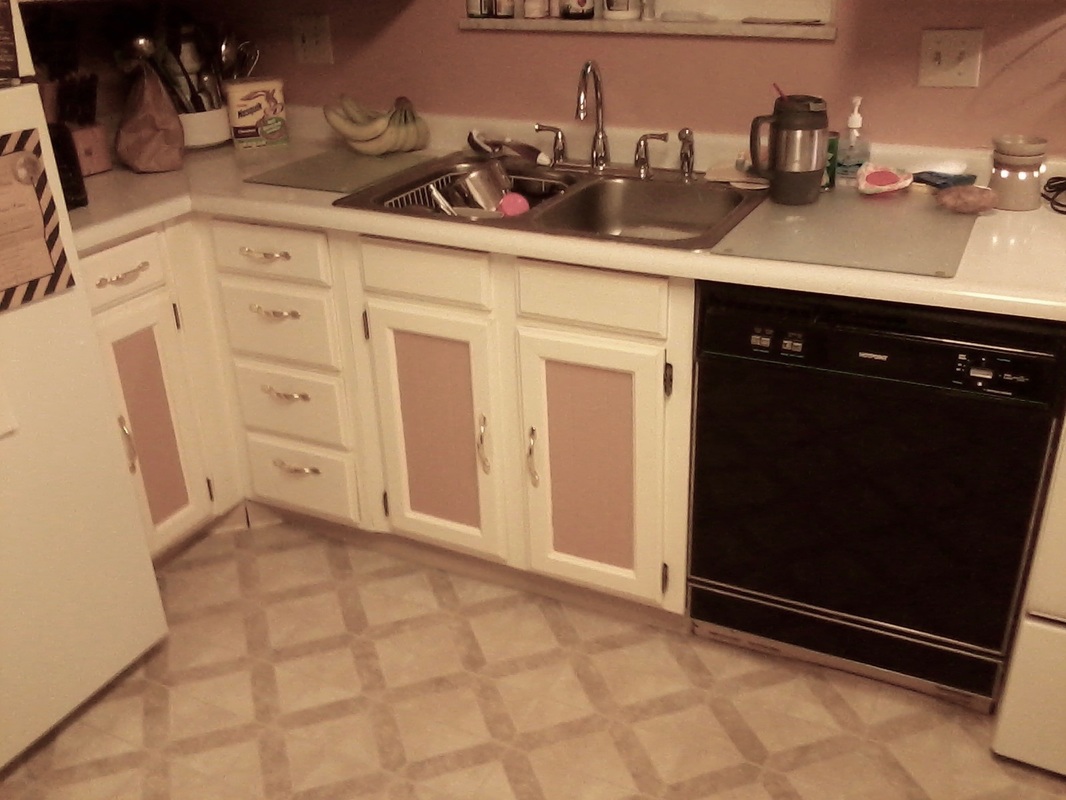
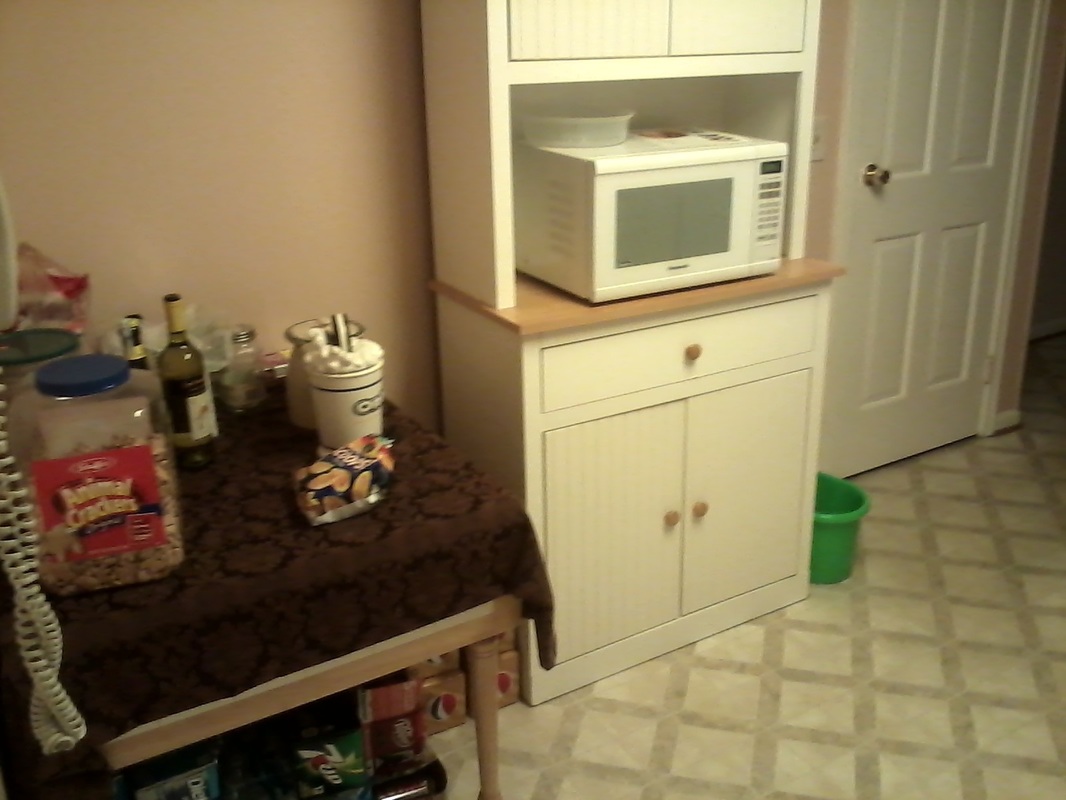
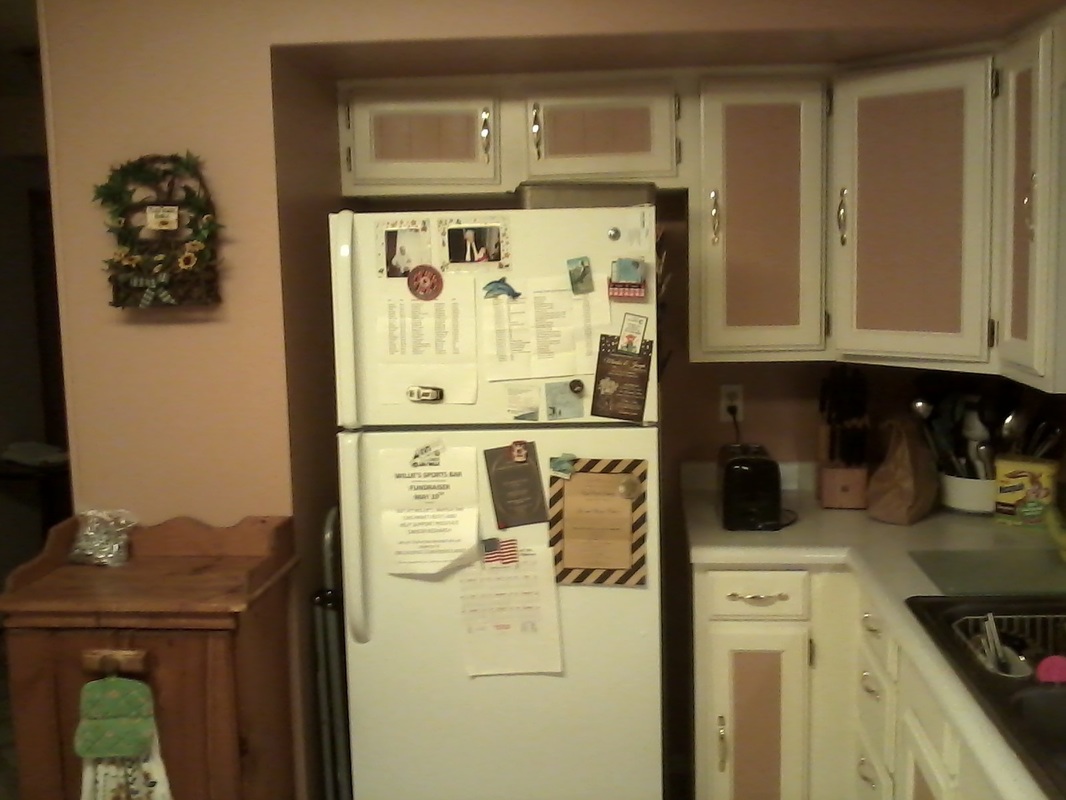
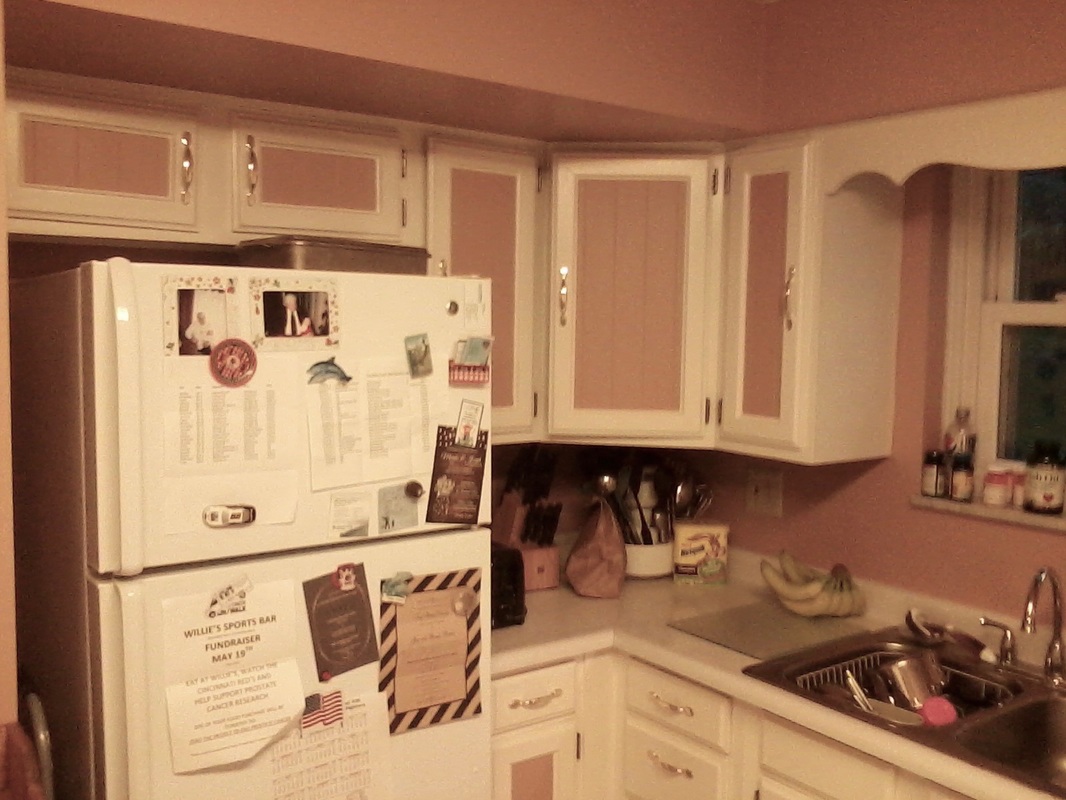
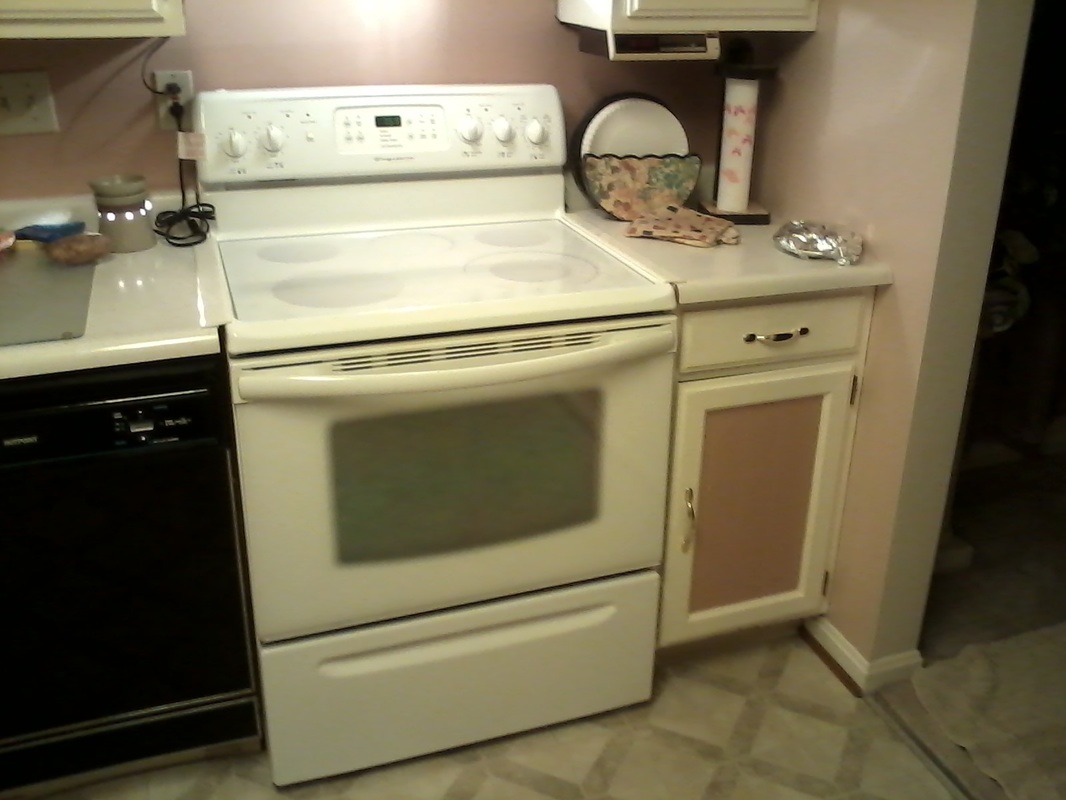
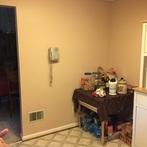
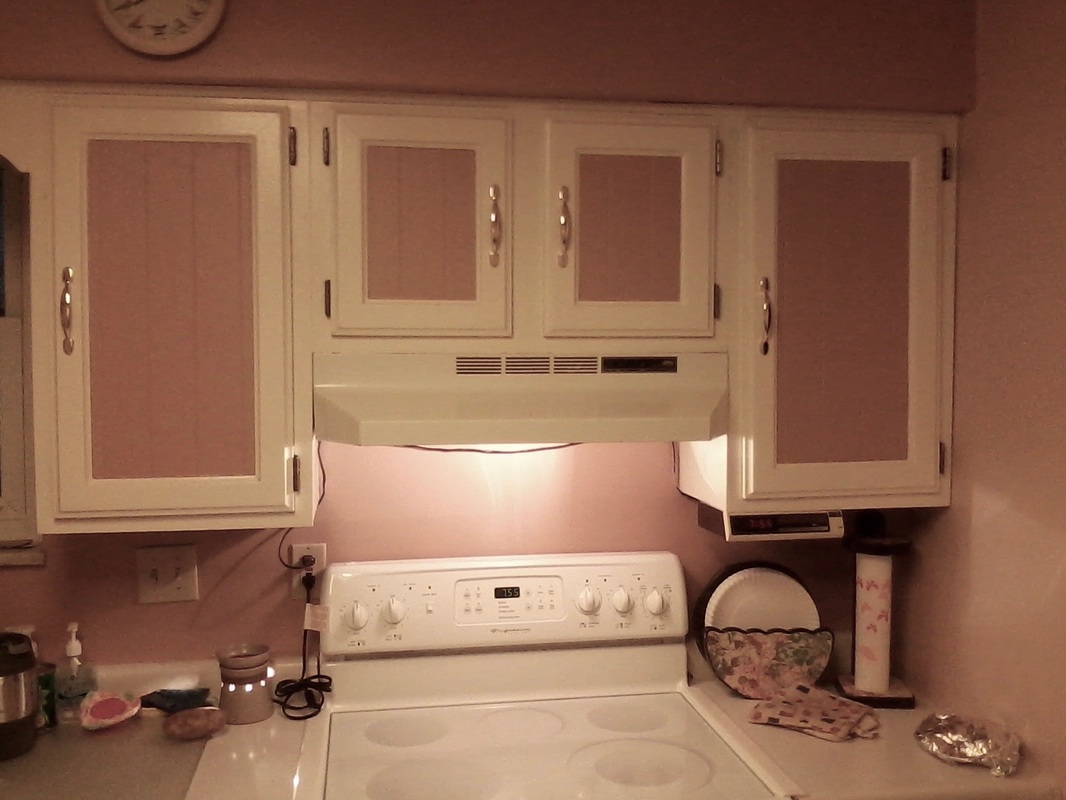
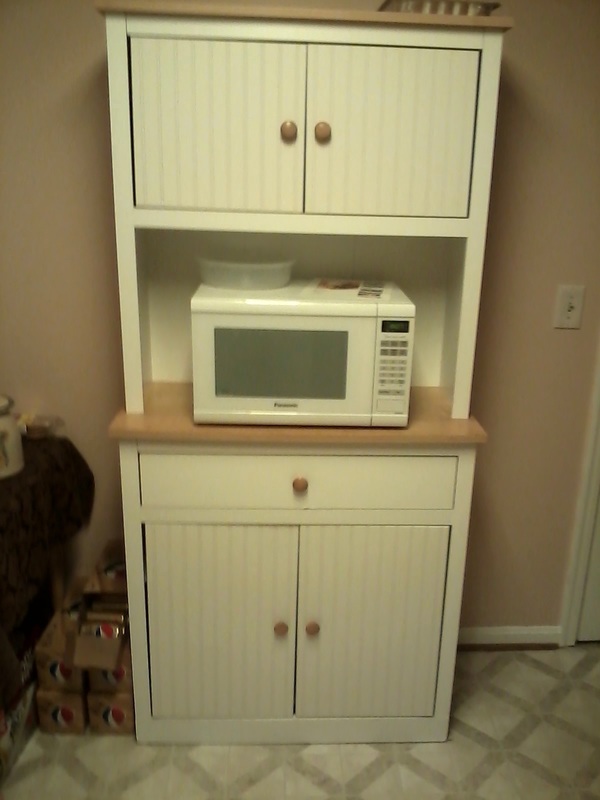
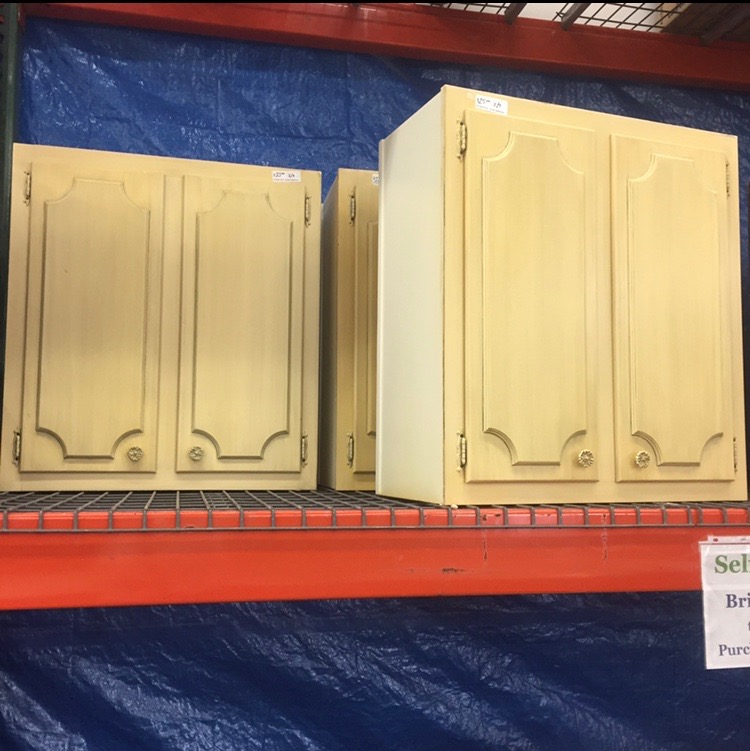
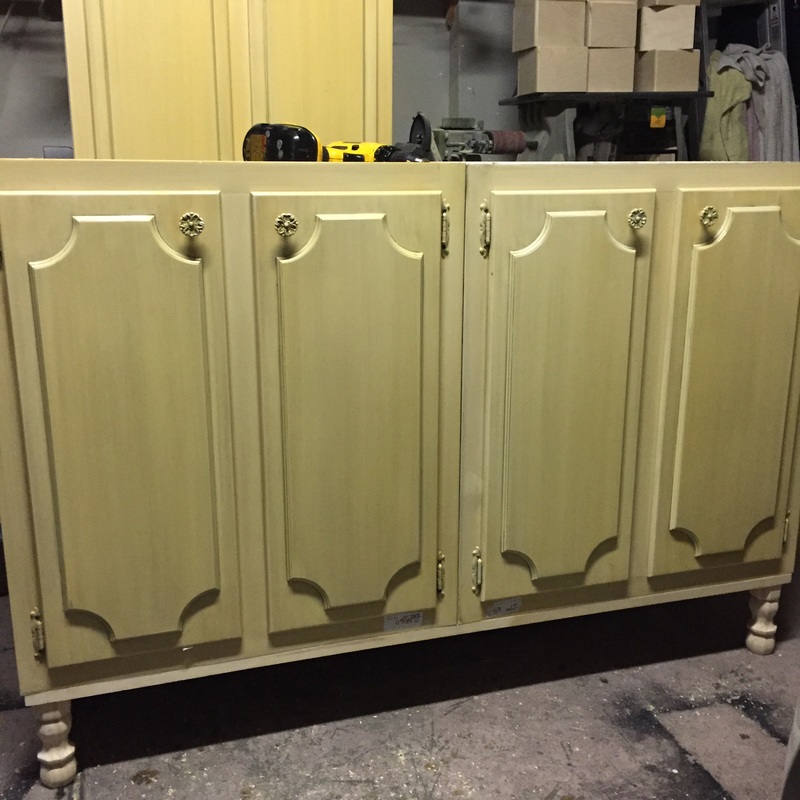
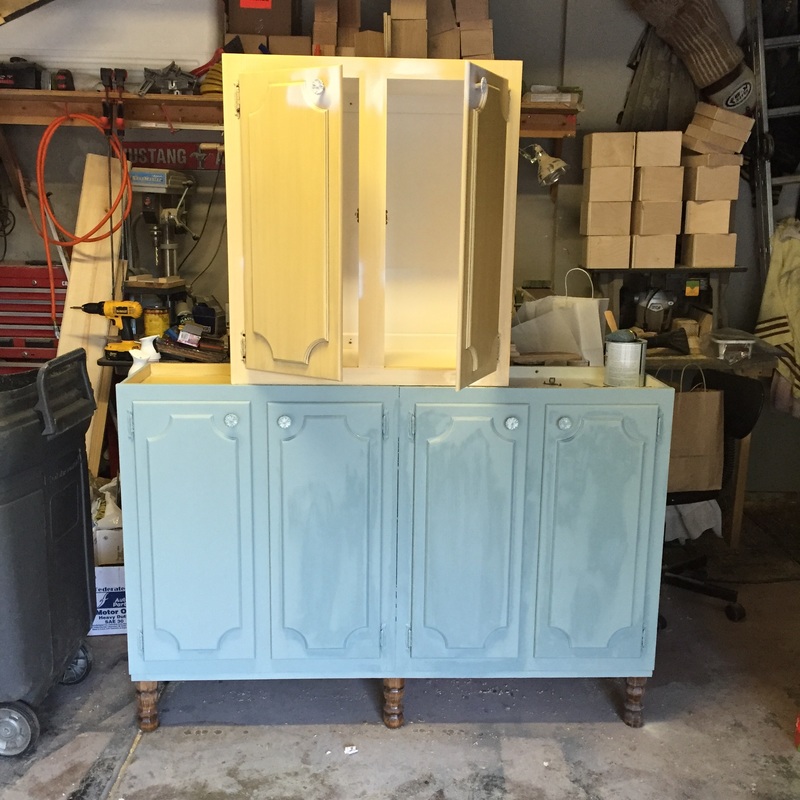
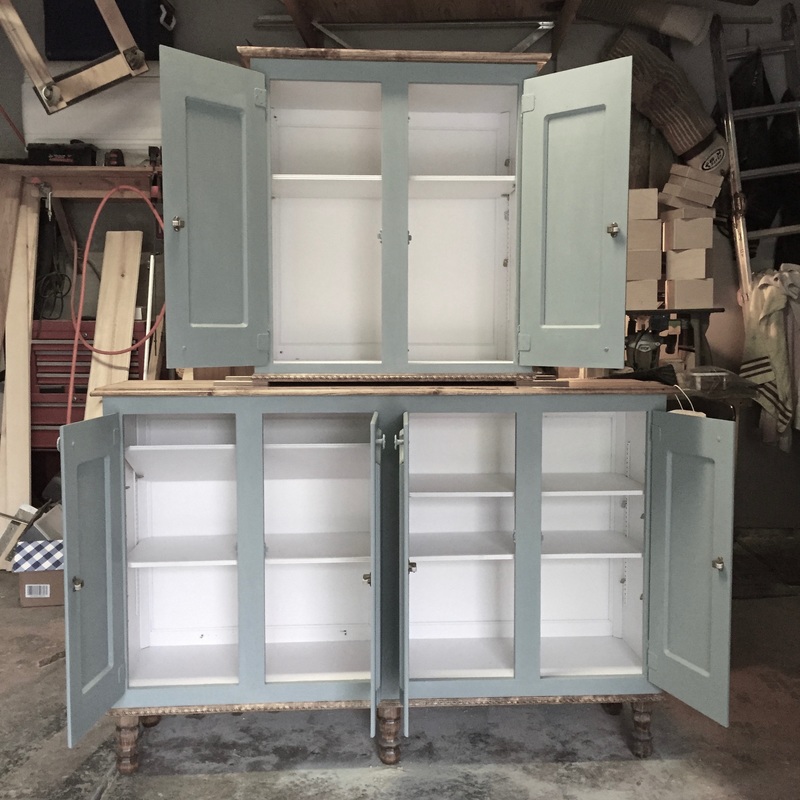
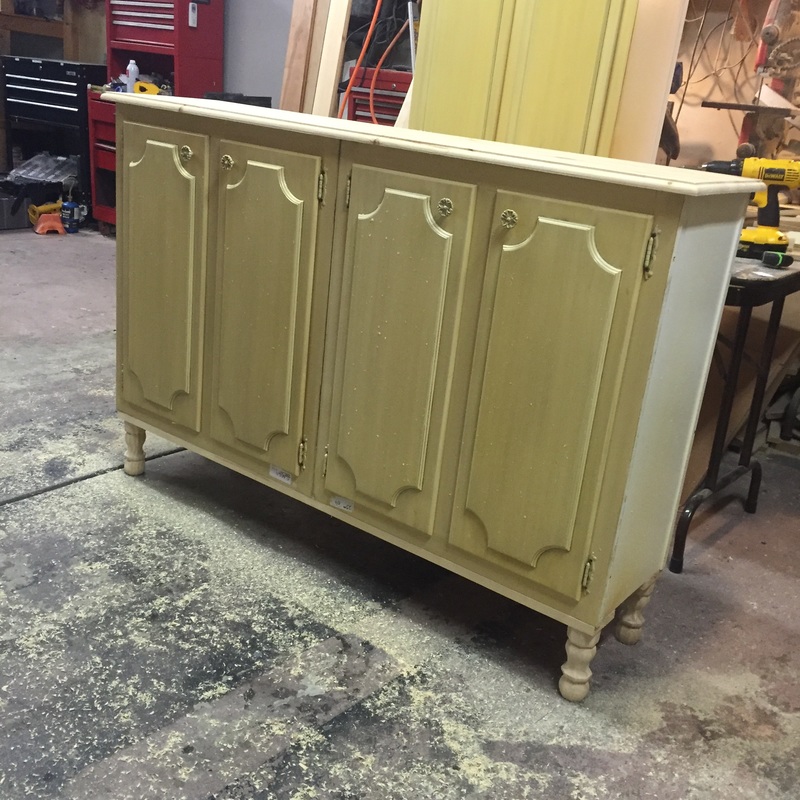
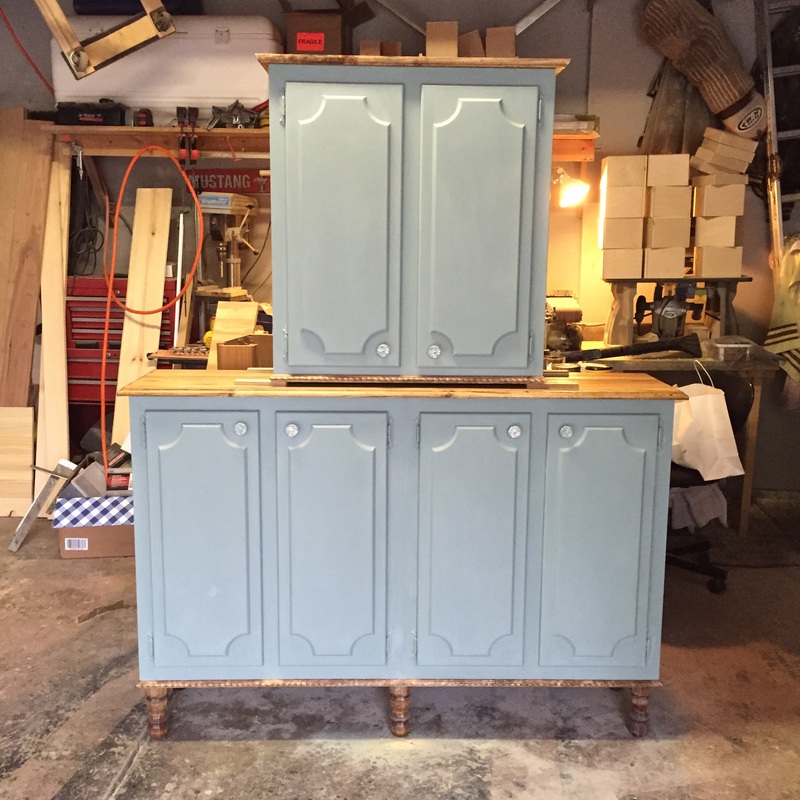
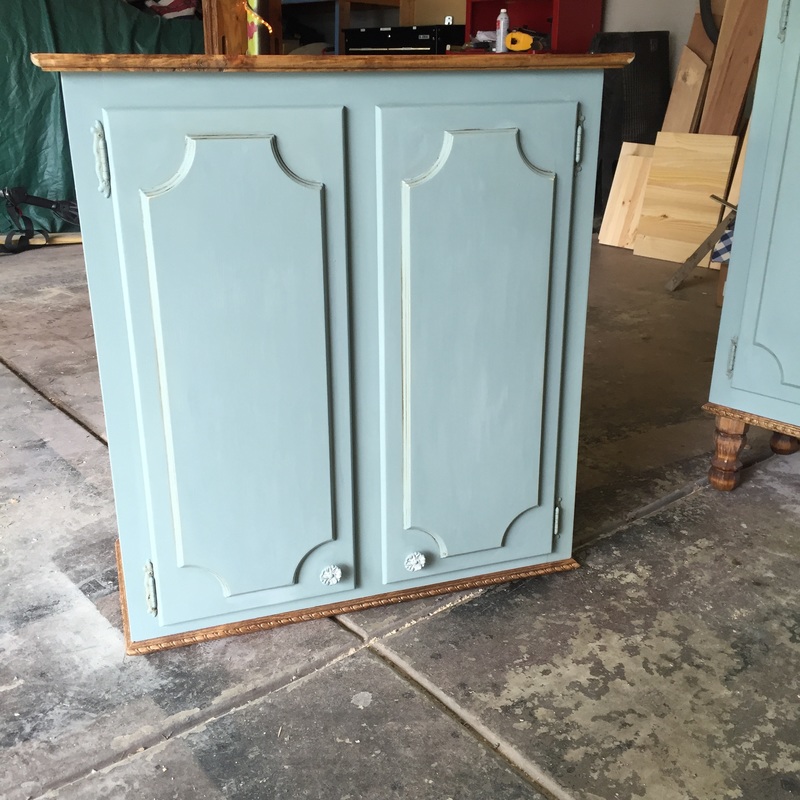
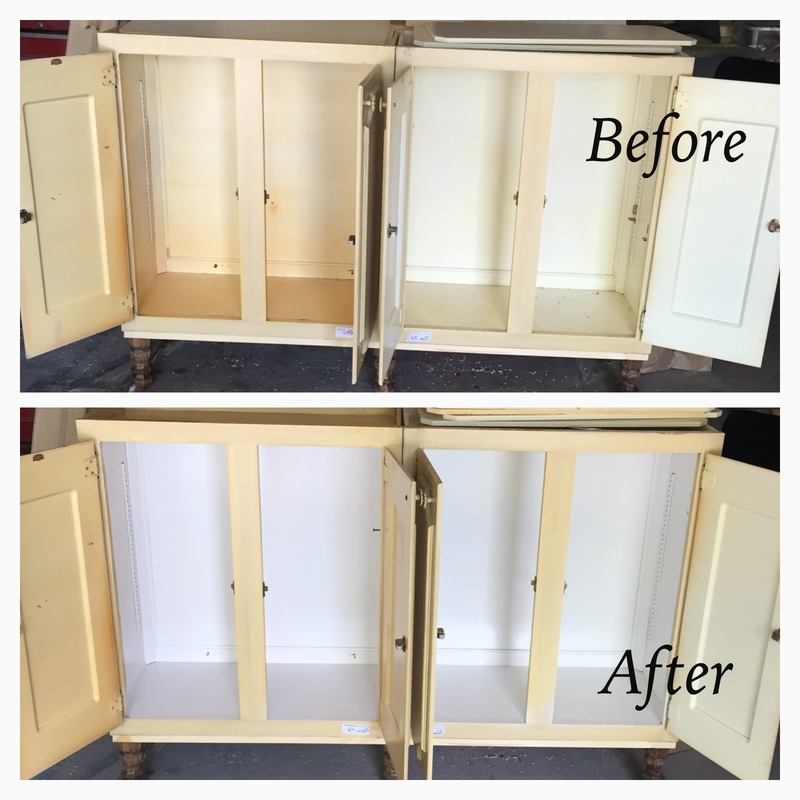
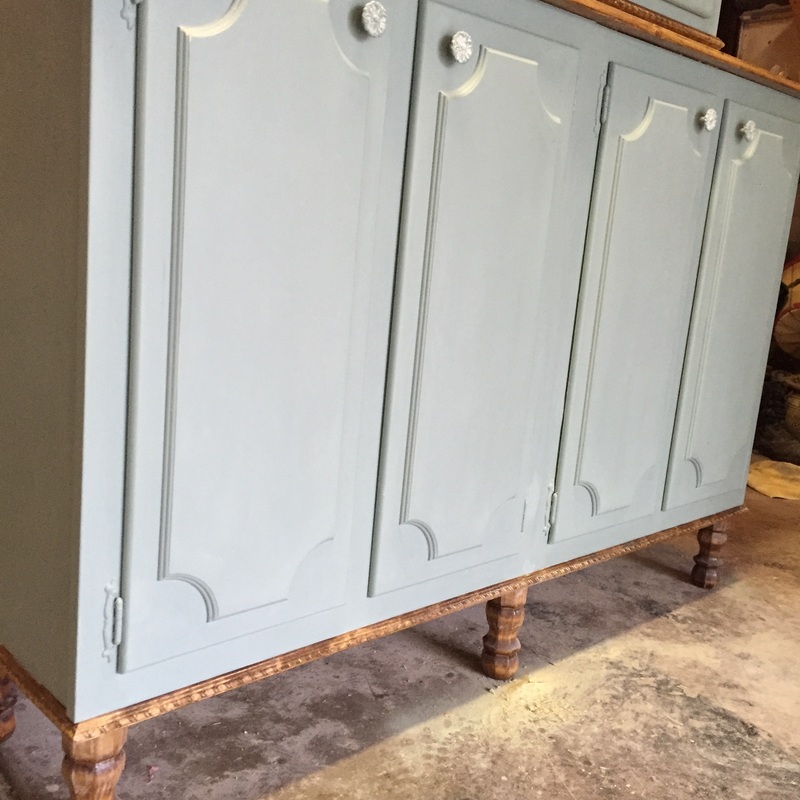
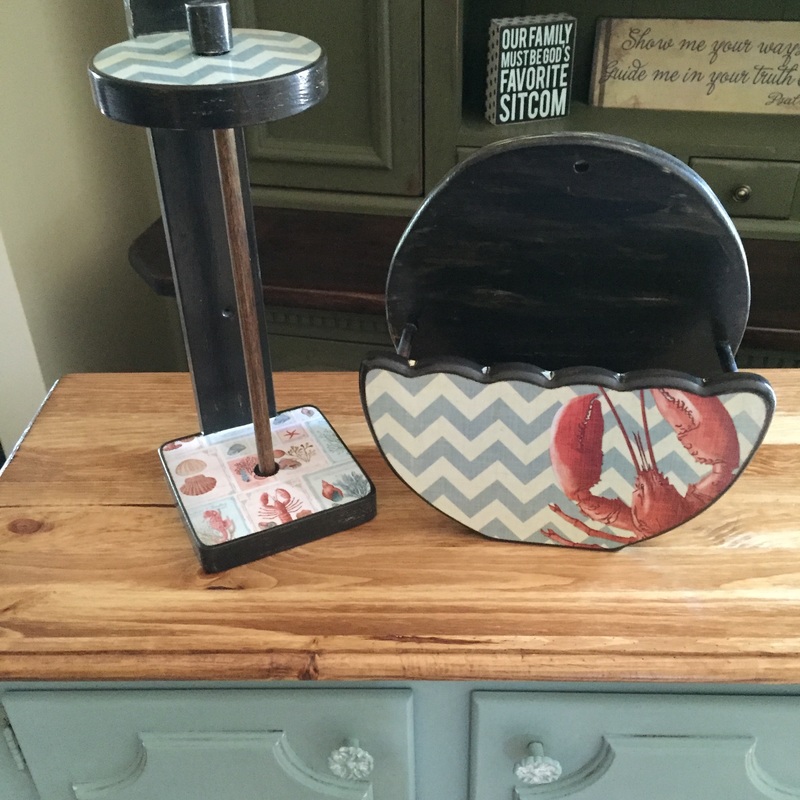
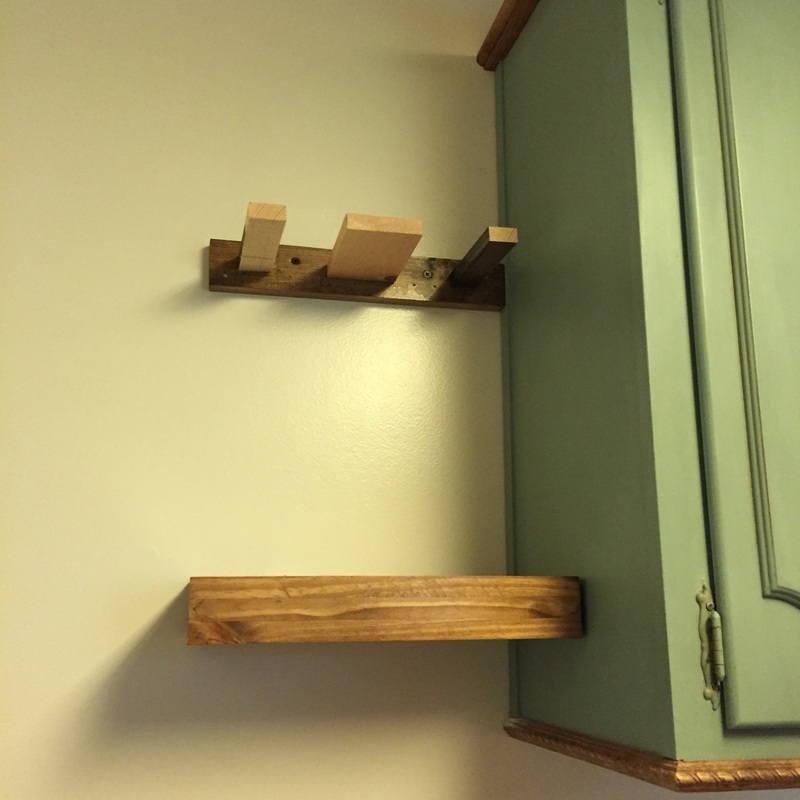
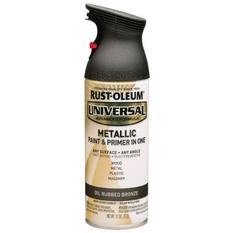
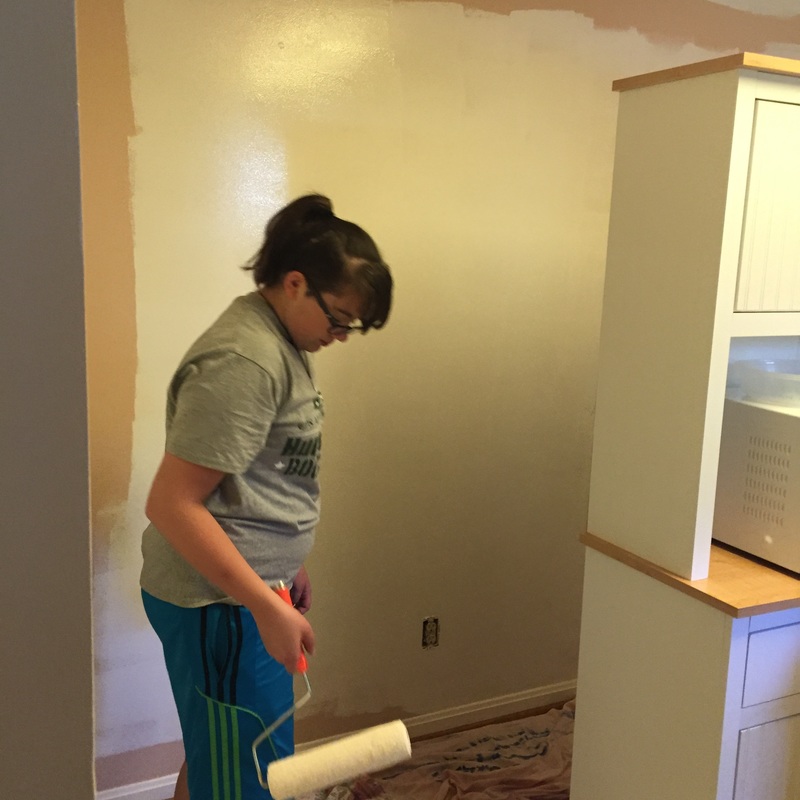
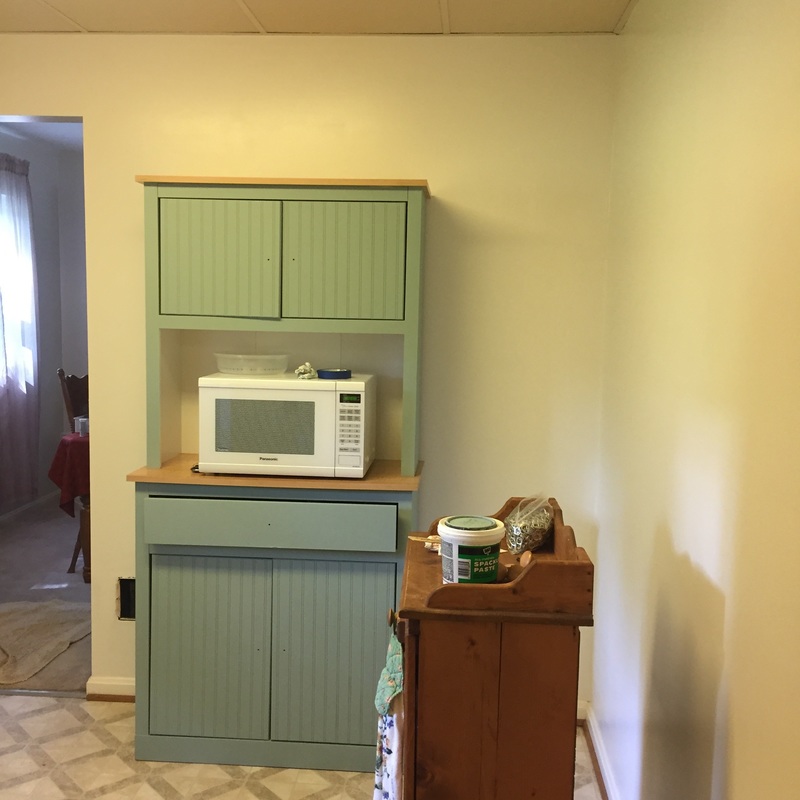
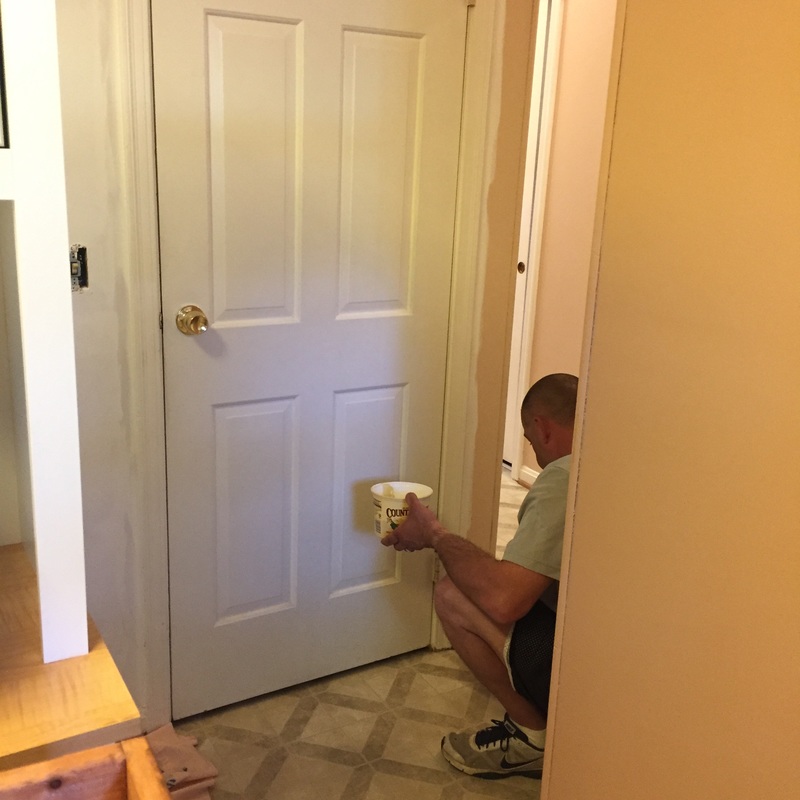
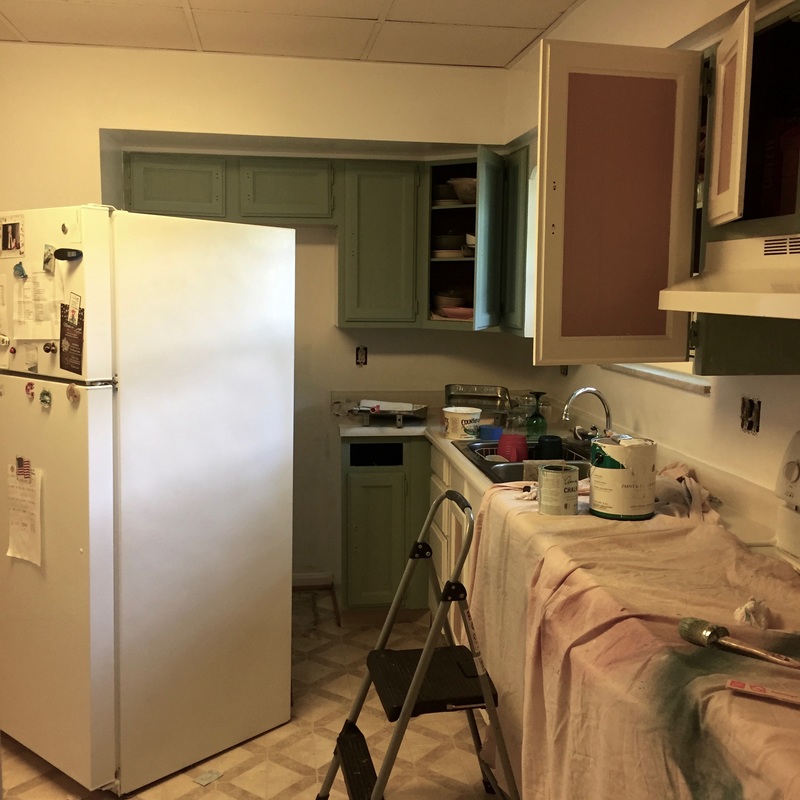
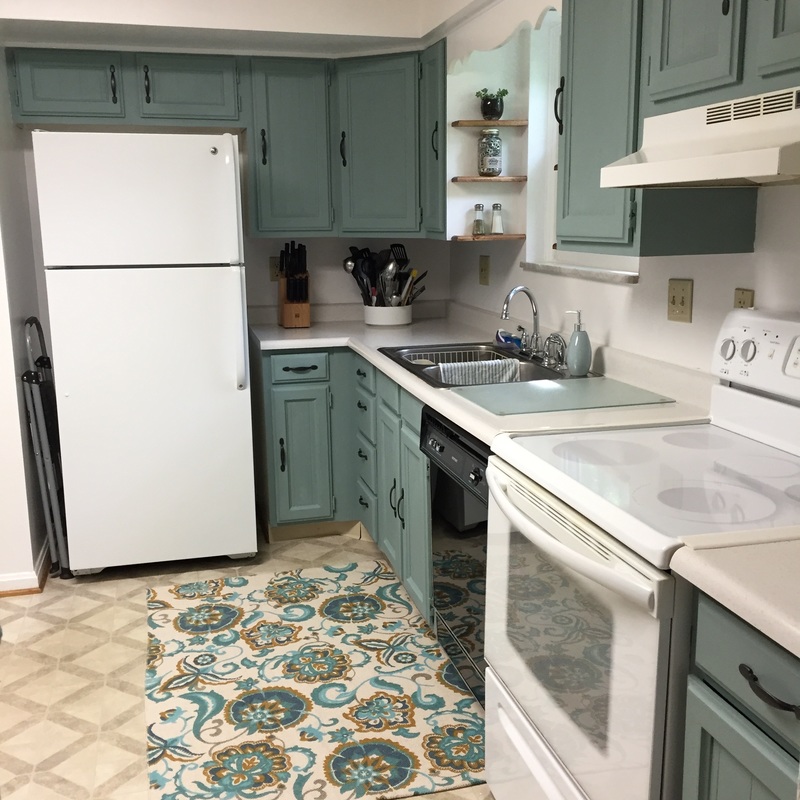
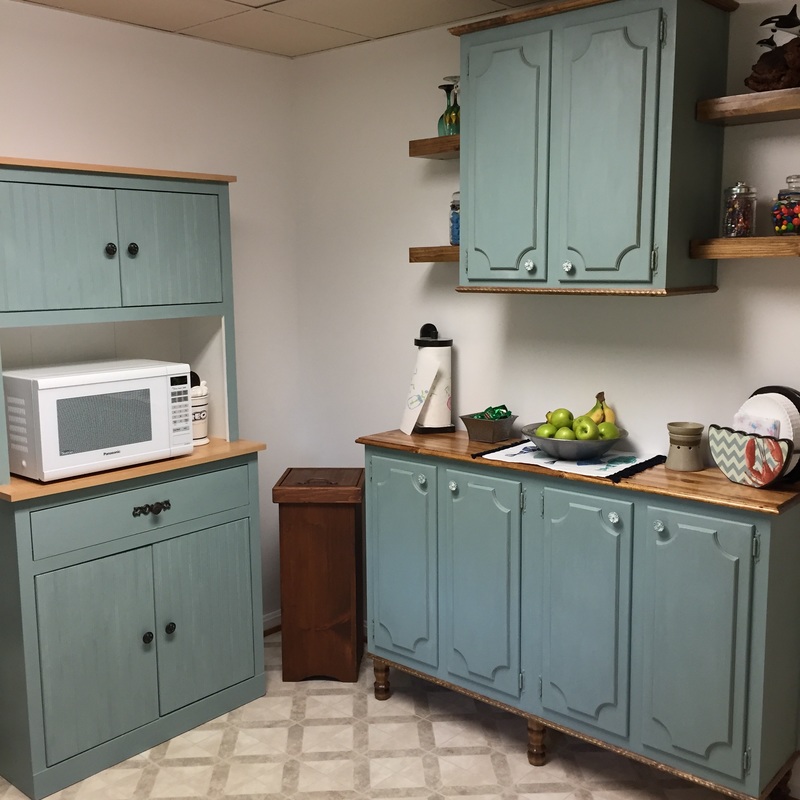
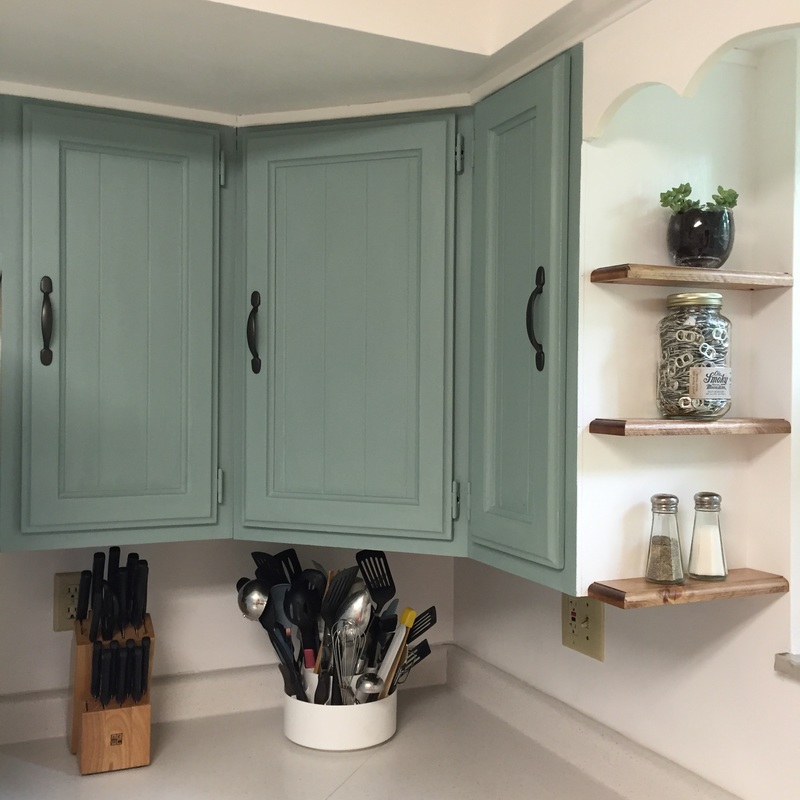
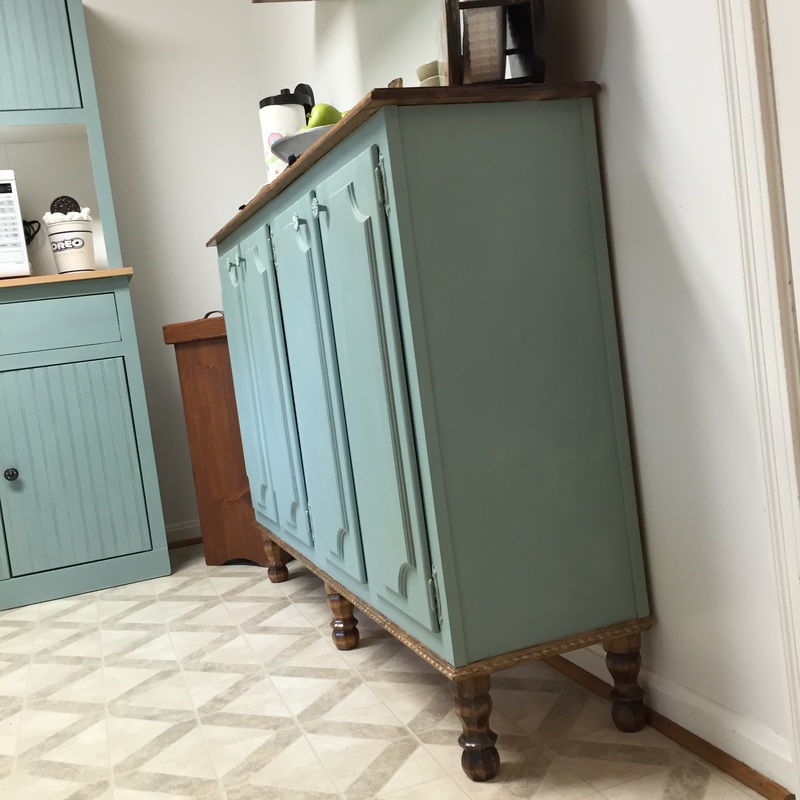
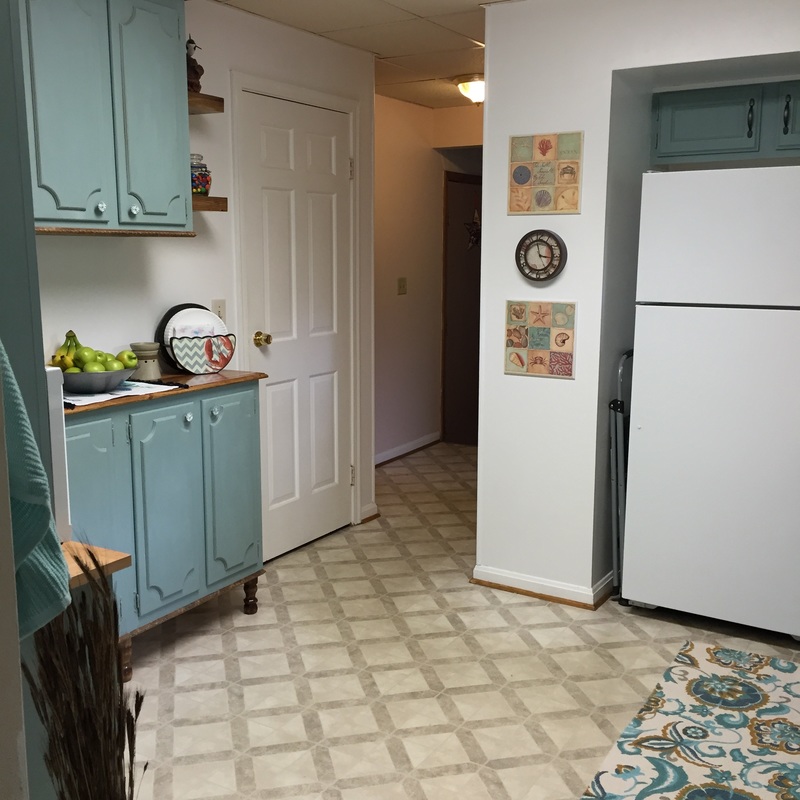
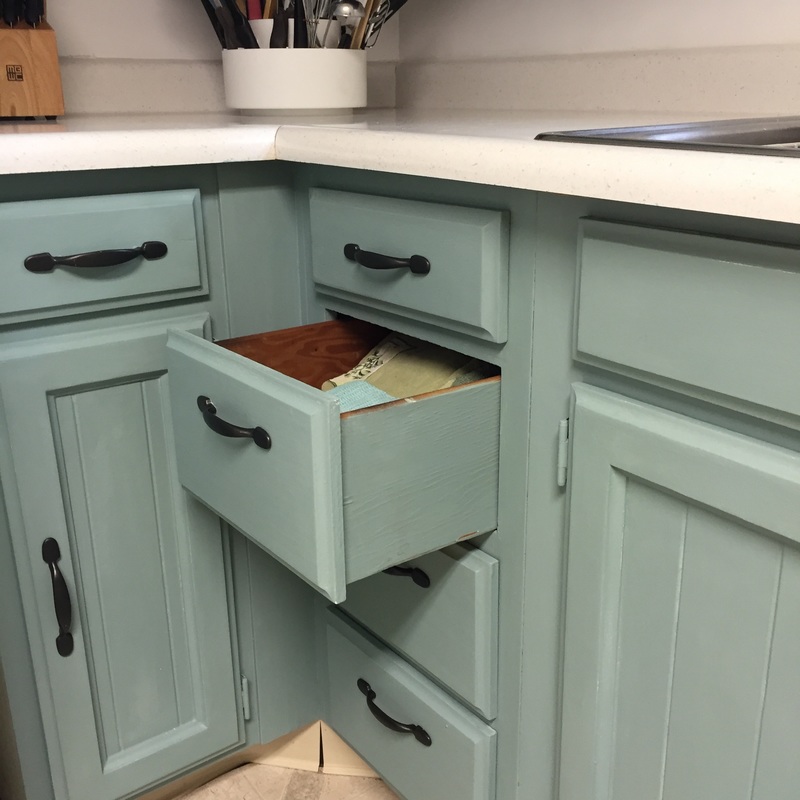
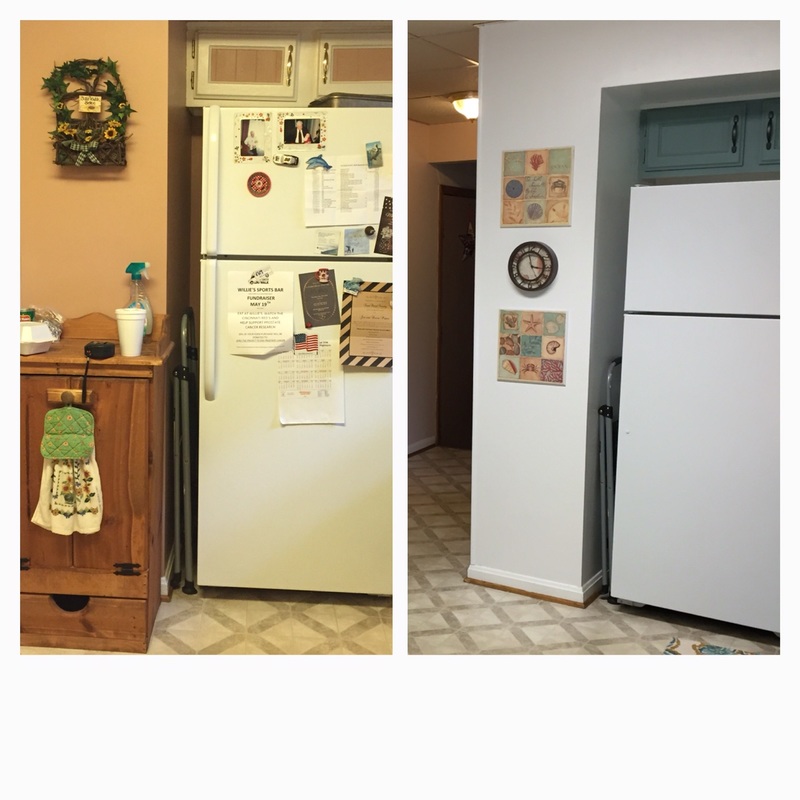
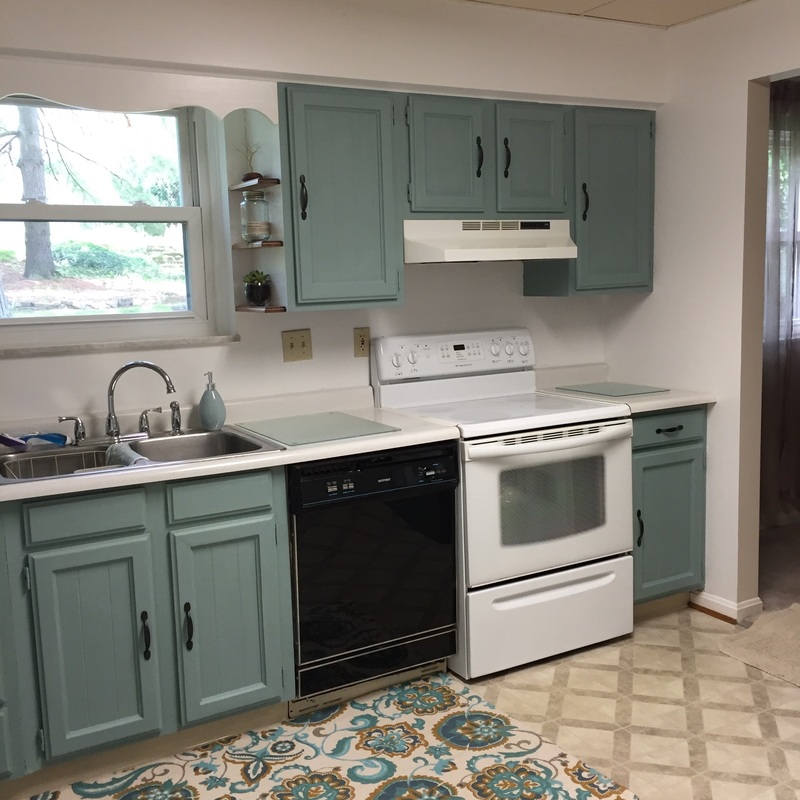
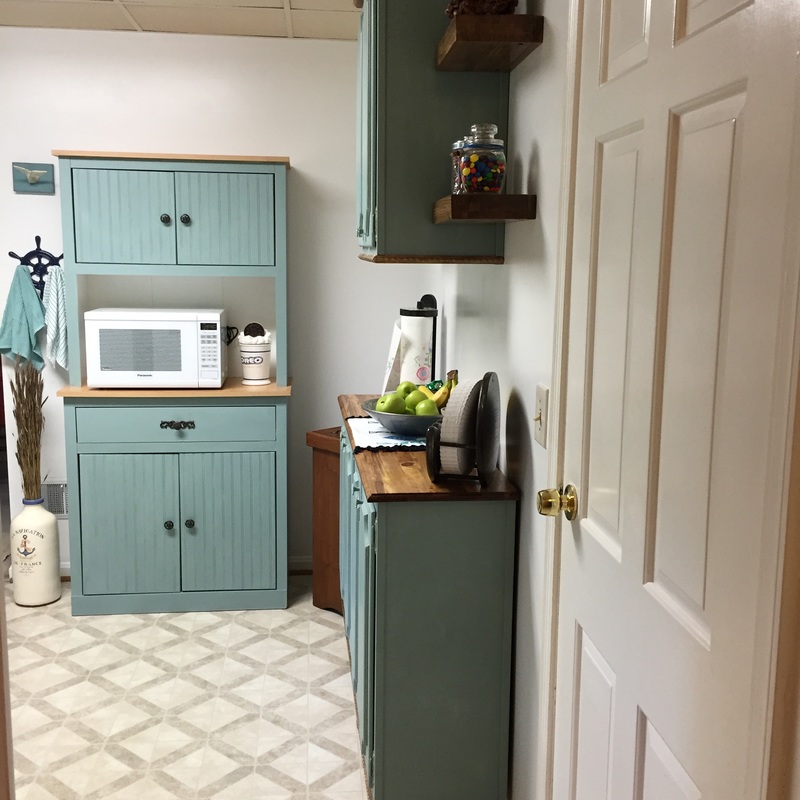
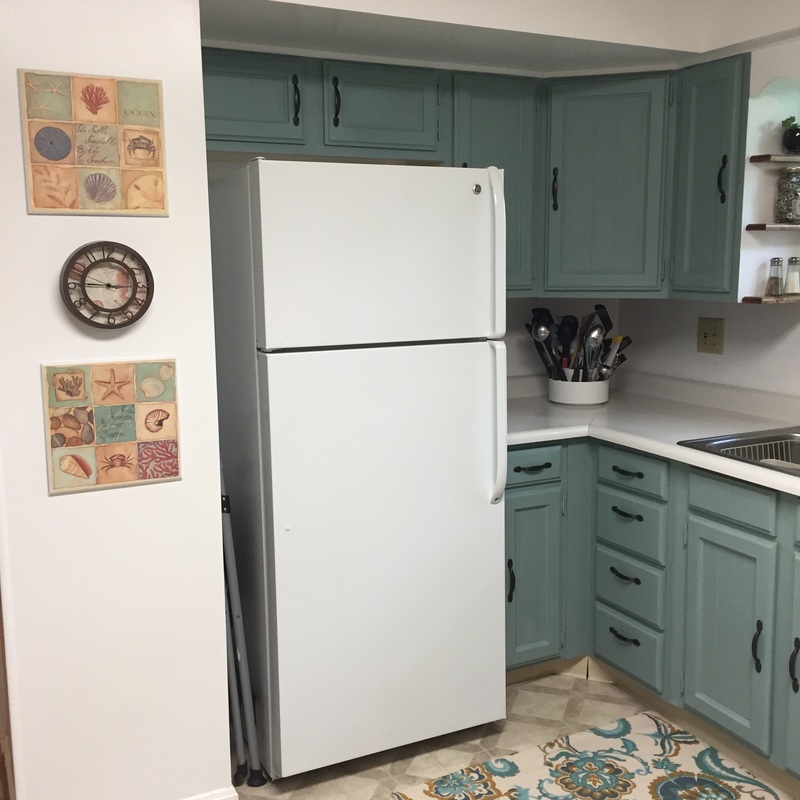
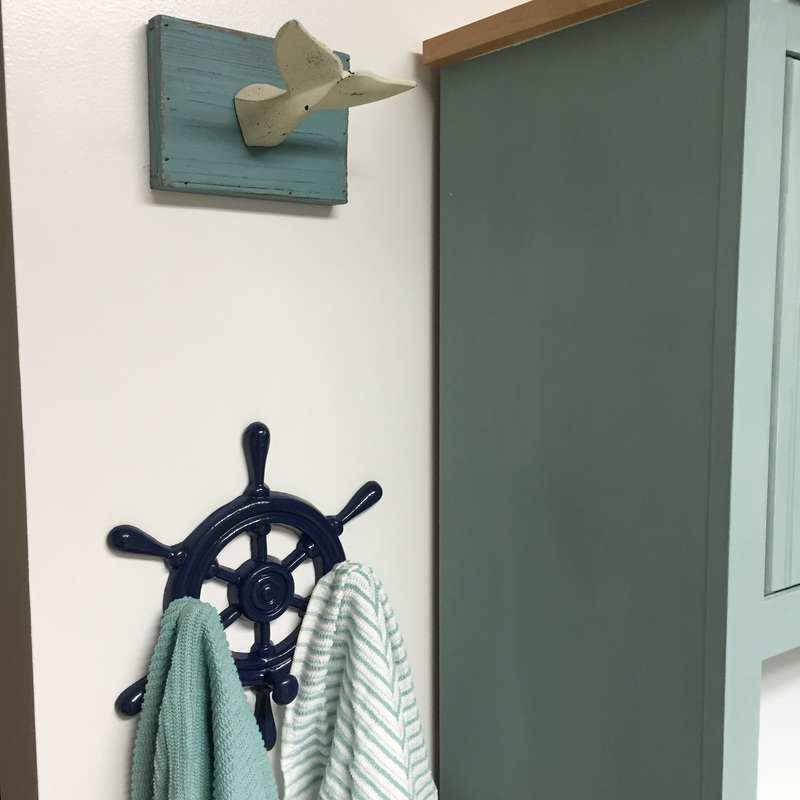
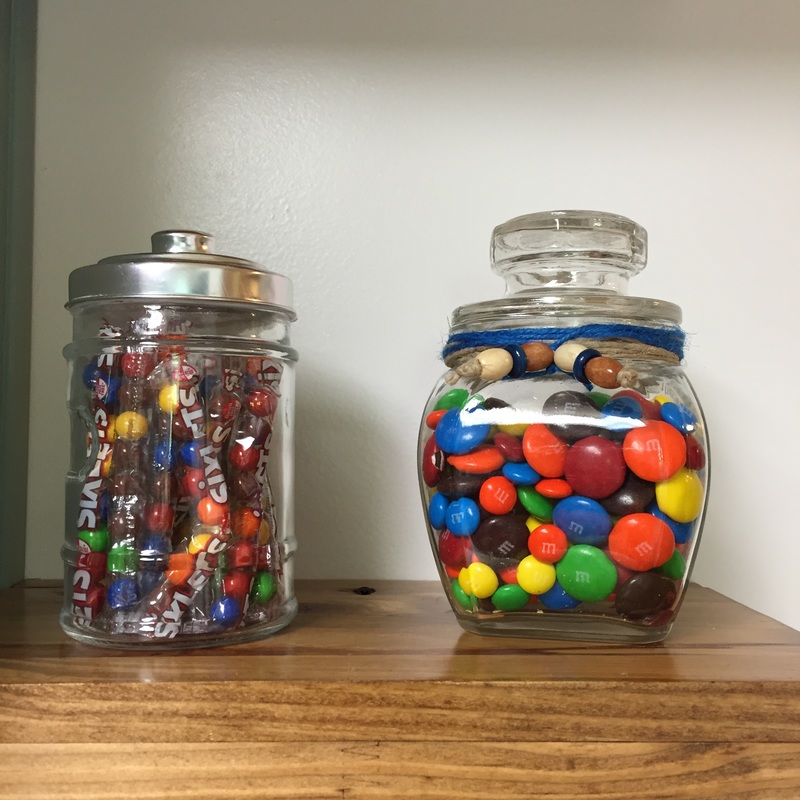
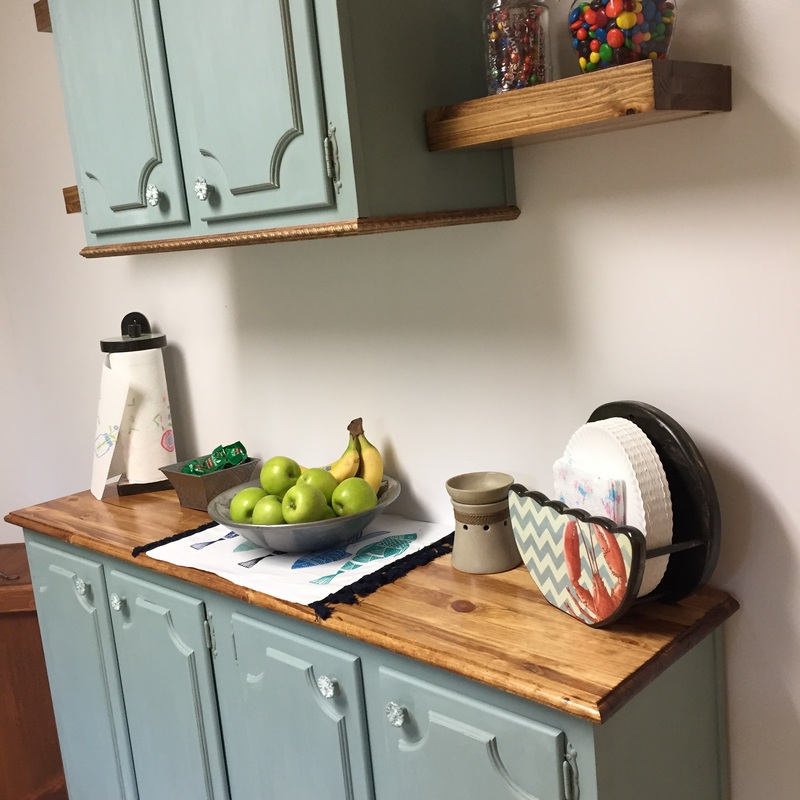
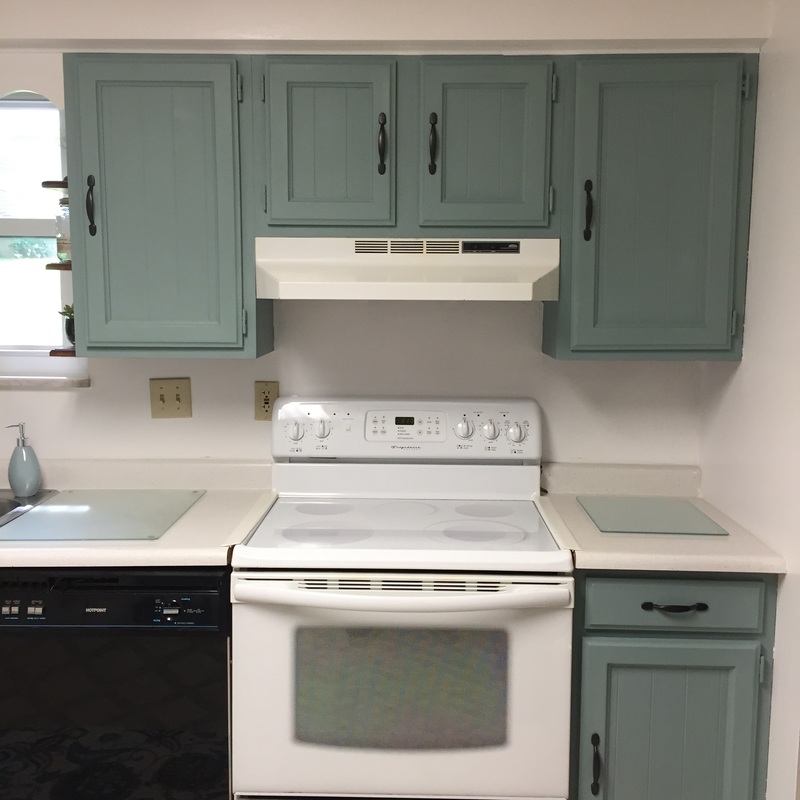
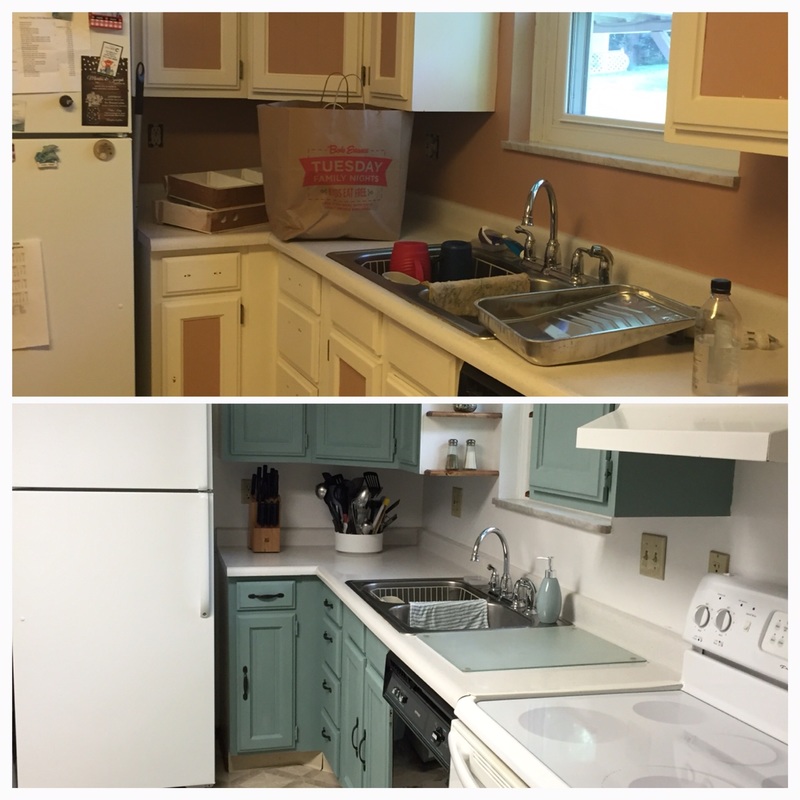
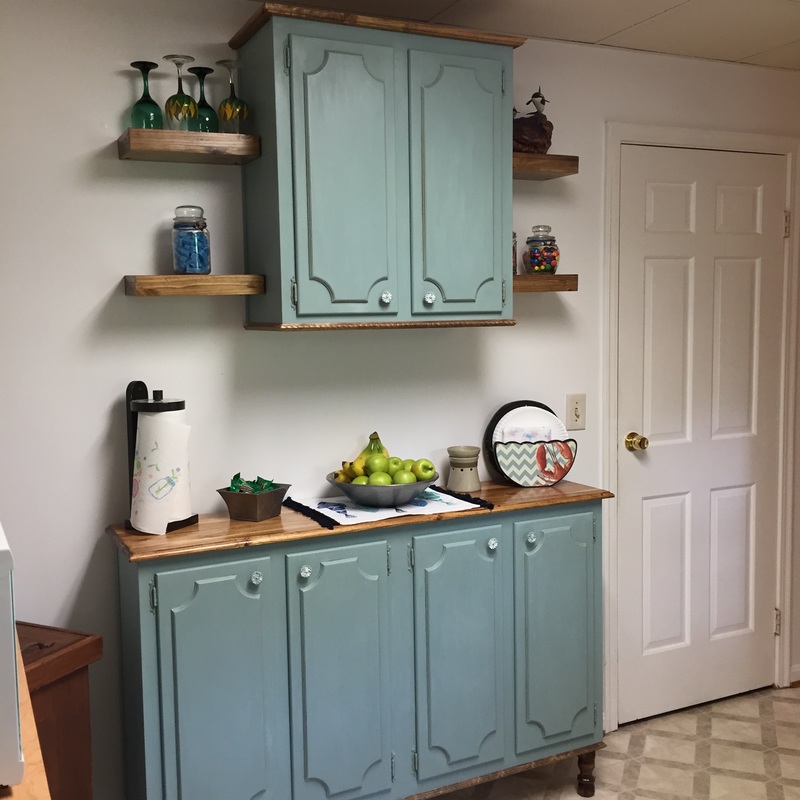
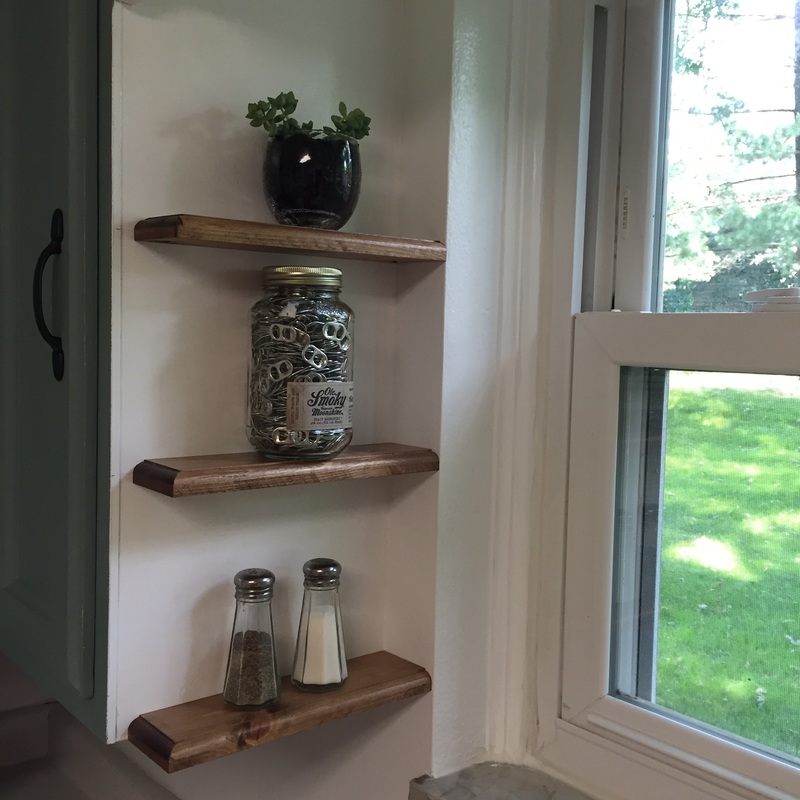
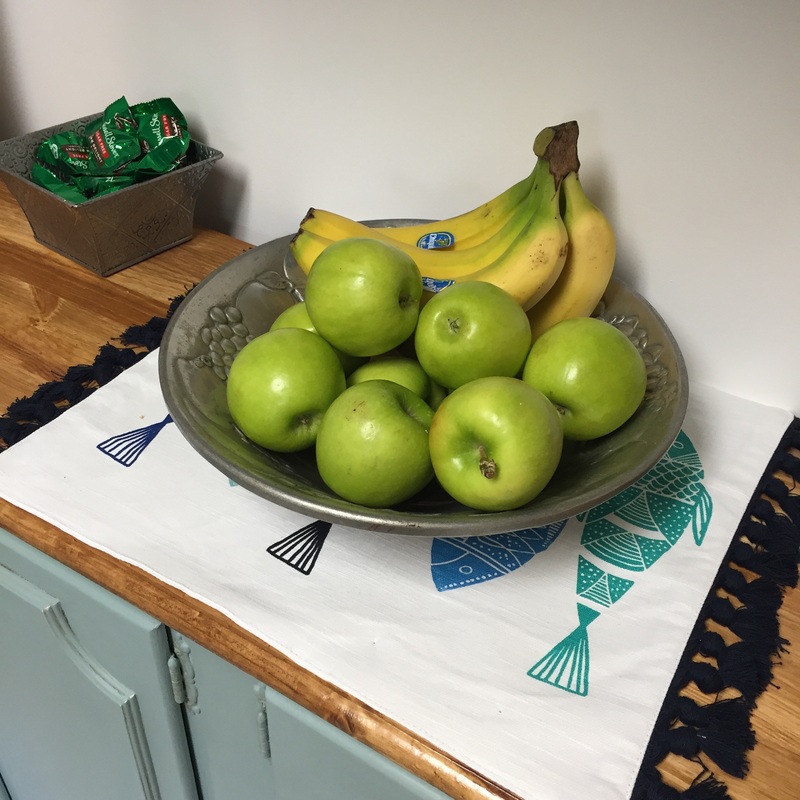
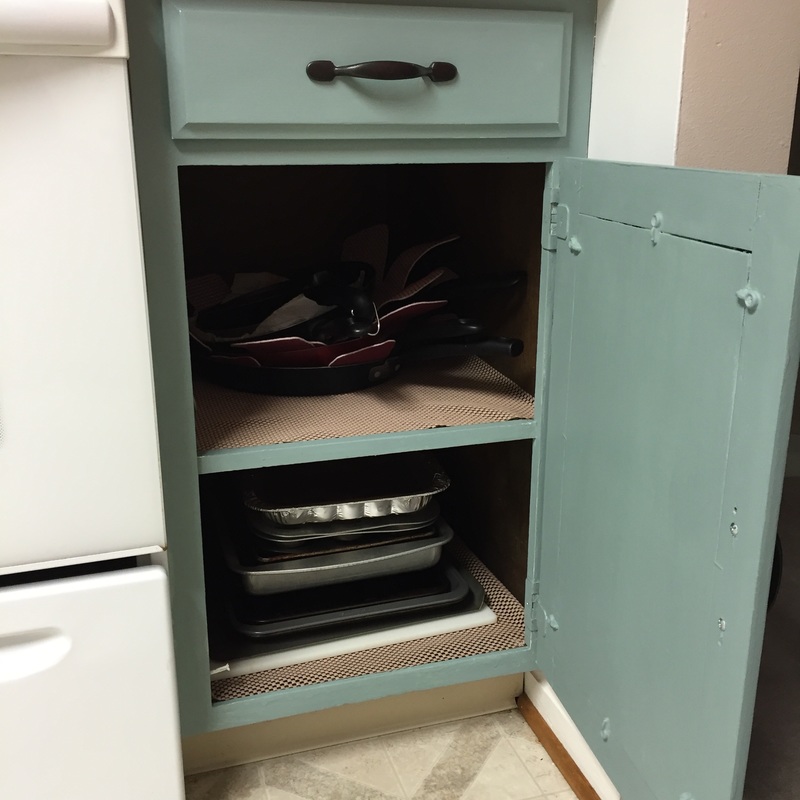
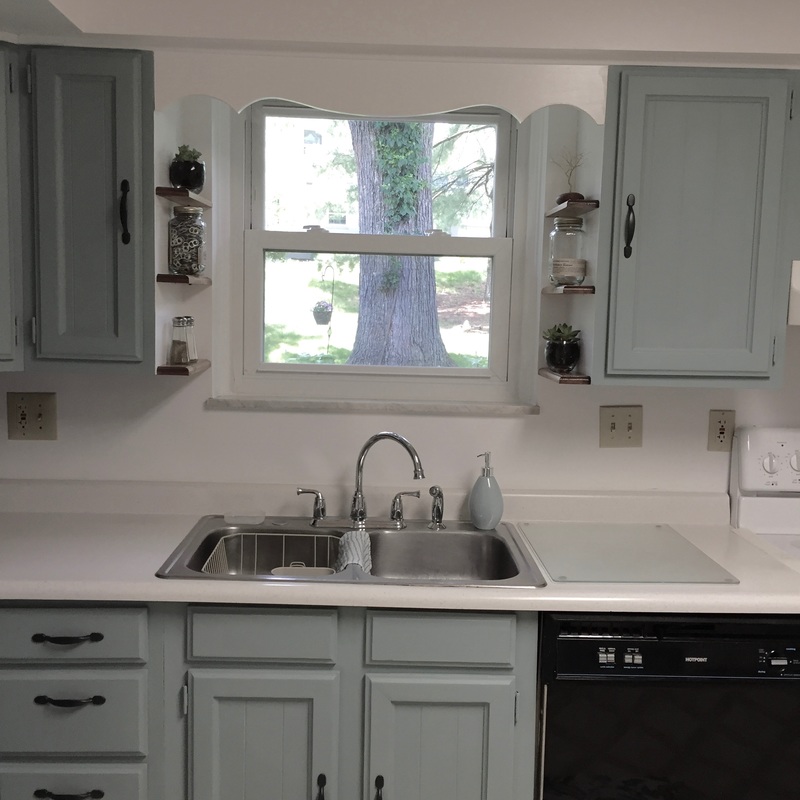
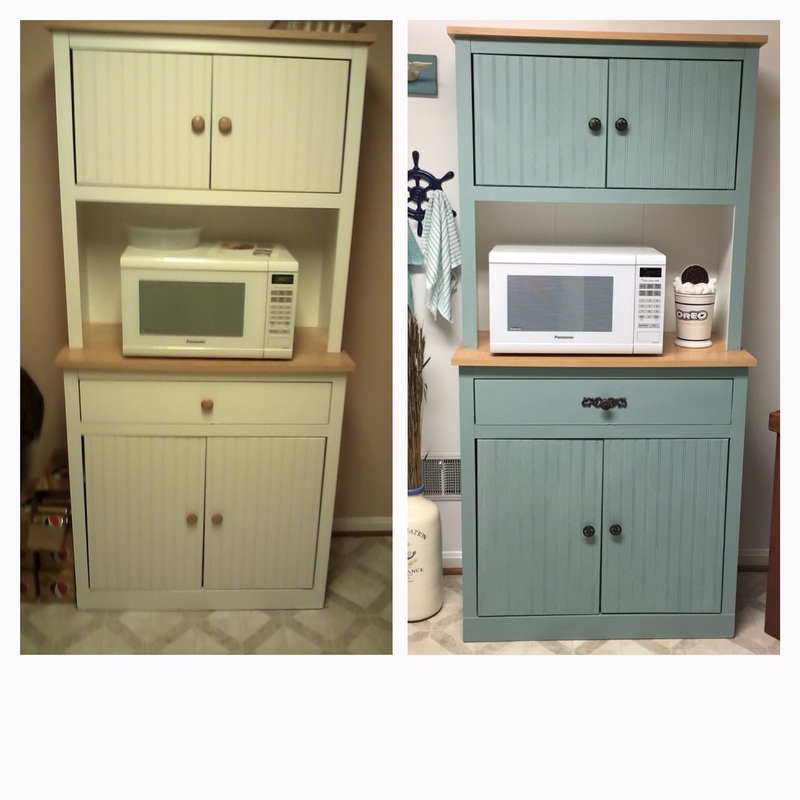
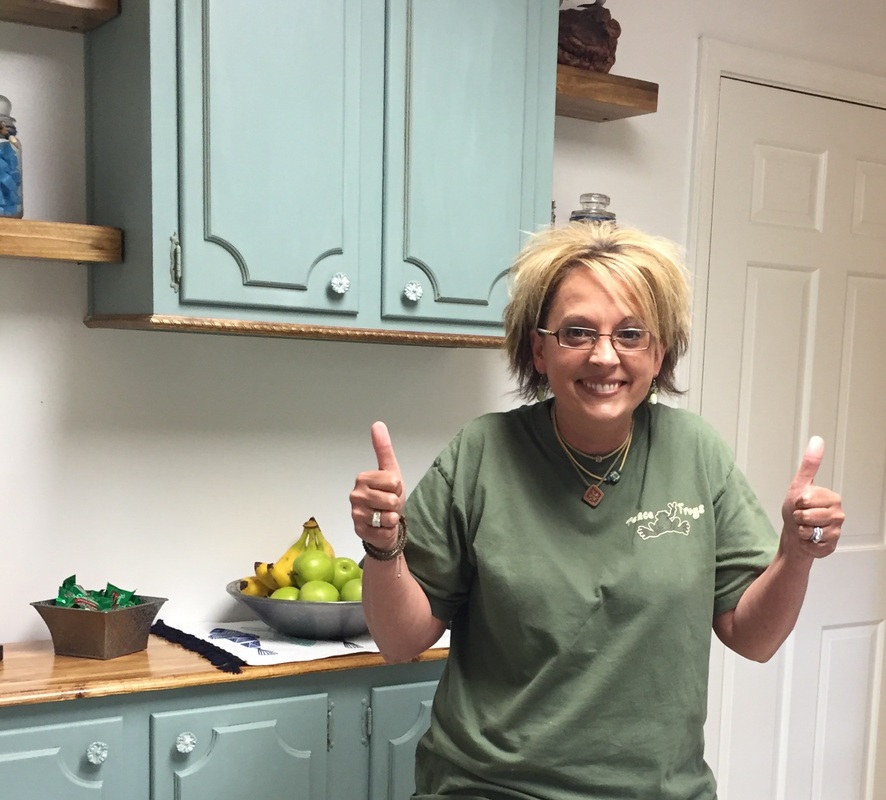
My mother and father-in-law needed a kitchen update. Their kitchen was very dull, outdated and needed some love. However, who wants to spend money on new appliances, granite counters, wood floors and a tile back splash that all the TV shows provide? It's summer time, vacation time and the extra money is just not there. Did you know that you can update your kitchen without putting in all the expensive materials? Don't be afraid! Just dig right in!! If you want to change out appliances or add new counter tops, that can come later. You can make a huge change just by painting the cabinets, changing some decor and adding some really neat elements in your kitchen. I told them I wanted to give them a kitchen makeover. I knew they wanted to paint their cabinets and they just couldn't decide what to do. I asked them if there was anything I couldn't do. They gave me free reigns to do whatever I wanted!! That made this kitchen makeover even more fun! I am surprising them! They will have no idea until they return home. It truly killed me not to share my progress! This is their Kitchen Before:They live in an older home with the original cabinets. Do you see the phone still hanging on the wall? How about the gold hardware? This kitchen is small with limited cabinet and counter space. Do you notice how all the photo's have a yellow tint? This is not the camera. Their light on the ceiling has yellowed and causes a yellow tint in their kitchen. I could not wait to dig in! I could see that this would be a huge transformation! My husband was on board to help me make this happen in 4 days while they were out of town. I had some prep to do. I had 3 weeks to get all my ideas, thoughts and materials bought. I am blessed to have the Habitat Restore close to my house. I stopped in searching for cabinets that I could repurpose. I FOUND THEM!! I put them on hold for my husband to pick up the following day. These cabinets were ugly yellow and they smelled really bad on the inside. I saw potential!! I decided on my cabinet color. The color will be Duck Egg Blue. I love Annie Sloan chalk paint and wax finish. I headed to the store 25 minutes away to purchase my cabinet paint. Meanwhile, I told my husband what I wanted to do so he could get started. I decided to screw 2 cabinets together, add 6 legs and a wood top with a braided trim for a hutch. The 3rd cabinet will hang on the wall in the center with floating shelves so it all will look like one unit in their kitchen. I had to get rid of their table in the corner taking up space and clutter. I like a clean space. I do not like clutter! Here is the process to make this happen: I stained and sealed the board for the top, the 6 legs and the beaded trim. I wiped all the cabinets down inside and out. I spray painted the inside and all the shelves to freshen them up. I could not get the smell out of these cabinets even after painting them! I can't describe the smell other than old, musty, and I don't even know .... lol! It was just a very odd smell. I aired them out for 2 weeks and it was all good! I continued on.... I used the duck egg blue on the cabinets and let them dry well overnight. The next day I waxed them with clear. My husband added the bead trim at the bottom, attached the top of the two cabinets and a small crown on the upper cabinet that would hang on the wall. My in-laws use a paper towel holder and a paper plate holder daily. I needed to finish those so they would match. I decided a lobster would be good! HA! We spent 3 days finishing this piece for their kitchen. My husband made the floating shelves. I stained and sealed them. Now, I am sure you are wondering what I paid for this! All 3 cabinets at the Habitat Restore were $75. Annie Sloan Chalk paint is $36 for a qt. I used half a quart. The wax finish is $24 and I used half (So, $30 to finish. I will use the rest on their existing cabinets. The legs were $4 each and we attached 6 ($24) We spent $50 on the wood top, braided trim and floating shelves. $6 for the can of white spray paint for the inside of the cabinets. I used white Rustoleum. Total Cost: $185 My father in law was very kind to take off all the cabinet hardware for me! I Spray painted them with Rustoleum Oil bronze. $6 for updated hardware!! Now we wait for them to go out of town.... The clock keeps ticking and I can't wait!! They left!! We loaded up our cars with all the materials and began!! WOOHOO!! My daughter and husband began painting the walls sugar white. I started painting the cabinets. Remember the white pantry they had in their kitchen? I wanted to keep that. I painted it Duck Egg Blue but I bought new hardware. The walls and cabinets took 2 coats. This took all day. I worked for 11 hours today. My husband and daughter worked for 5 hours. She had to go to work! Jeff went home to cut out the shelves to put around the window. We slept great and ready for day number 2!! This was the big day! I will just list everything we did today: Waxed the pantry and cabinets-caulked around counter and window sill-hung upper cabinet on wall-hung floating shelves-placed hardware back on cabinets and pantry-tightened up some cabinets-added small shelves my husband cut and routered around window-hung up some decor- cleaned light above kitchen sink and I am sure I am missing some things... The biggest decision was "what do we do about lighting?" The previous owner put a drop ceiling in the kitchen... crazy huh? There is a long light on the ceiling that is covered in yellowed tinted plexi glass from pure oldness. The decision was made to go to Home Depot for a new light. That was an adventure taking the light down and adding the new one. HOLY COW! It made a HUGE difference. My vision came alive and now it was bright and clean in the kitchen!! We were tired. My hands hurt from waxing so after 8 hours we headed home for the day. Day number 3 and it all came together!! I made a couple stops on the way. I got a few hooks for the wall, matching towels and wash cloths, a rug, and a little decor to help complete the kitchen. I had some glass jars at home so I wrapped some hemp around them to fill up with candy and scentsy bars for the shelves. They had a clock they bought for the "old kitchen" so I took it apart. I added a new background and painted the casing. Their wood trash bin would not work in the space I wanted it to go in so I had a wood trash can in my basement that was 20 years old and gross to be honest. I sanded my trash can down, re-stained it, and added new hardware. It's good as new! My father in law does not know this yet but I am going to ask him to seal it. He's pretty good at sealing!! That is the only thing we are asking him to do! I organized some of their cabinets. I added shelving paper and cleaned up their pile that was emptied into their dining room so we could start the remodel. The little table that was in the old kitchen went to the basement along with their ceiling light and trash can. My husband changed the way the fridge and freezer opened. Now it opens the right way!! It was time to clean up! I swept and added the final touches! My sister-in-law stopped by so I had her get two very small plants to put on the shelves in the kitchen. She put them in 2 glasses that were in their cabinet that they never used. After 3 days we are finished!! Are you ready to see it? Here we go!! What do you think about my kitchen on a budget? I will break the cost down for you! The wall cabinet unit as I stated before was $185- $6 for hardware paint- $15 for new pantry hardware - $60 for new ceiling light - 1 1/2 qts of duck egg blue to paint the pantry and cabinets-$48- 1 can of wax $24 - new hand sanitizer bottle-$3- whale tale hook $7 - Captains wheel hook $15 - Anchor vase with wheat decor on floor $35 - Little plants-$6 - Rug $17 - Placemat $5 - Shelving paper foam $4 - Towels and washcloths $10 - hardware for trash can $10 - wall paint- 1 gallon $40 - candy, bananas, apples - $15 We already had caulk, stain, sealer, wood glue, screws, nails, some wood, paint brushes and rollers, glass jars, 2 wall hangings and a trash can that we were happy to get out of our basement. The grand total was $505. If you want to include tax and maybe a couple things I forgot we can round up to $550 to give wiggle room for error. This is a great start to update your kitchen on a budget!! Now it is time for the reveal!!They loved it!! Woohoo!!!Time to start the next project!
7 Comments
Lorraine
6/7/2016 05:56:41 pm
Gorgeous Kate!!!!!
Reply
Katie
6/7/2016 06:32:12 pm
Thank you so much!!! MUAH!!
Reply
Lisa
6/8/2016 04:55:01 am
I absolutely love the way you made this kitchen come to life! It's beautiful and on such a budget! I am feeling hopeful for my own makeover! You are one talented lady, Katie!
Reply
Katie
6/8/2016 05:21:50 am
Thank you so much!! Your kitchen will be beautiful!! Just sprinkle some love all around ?
Reply
Kimberly Jackson
6/9/2016 08:07:22 am
Beautiful transformation!!! I'm so happy they loved it! I still need your help with ideas!
Reply
Jenna
2/10/2022 12:49:19 pm
Beautifully done. It’s really interesting, but the kitchen layout and size looks almost EXACTLY like our old 1960s kitchen which I’m in the middle of making some changes. We have laminate cabinets and worn down yellow Formica (or something like that) countertops and 70s mustard vinyl flooring. 🤮. That and no dishwasher or working oven (broken double oven). Only 2 safely working burners on our stove. We were quoted 50-60k to open up a wall, replace cabinets and counters and moving the fridge to where your stove is currently. Then put a stove in an island/peninsula where you put your restore cabinets (after opening up wall to dining room)— wonder if that’s possible or desired for your parents in the long run. Anyway, hiring everything out was way out of our budget and we are considering rethinking layout or temporarily painting the laminate & putting the dishwasher where you did and upgrade our countertops to butcher block like you did & appliances to something working for now and save our $$. That and sticky tile can work some wonders. I think this is an inspiration for me… maybe I can live with something like this for 5 plus years rather than what we have now! It really is horrible. If it can look like this I would be so happy. Thanks for sharing!
Reply
Leave a Reply. |
Archives
February 2020
Categories
All
|
